
How to Add a Second Display to Your Mac?
Adding a second display to a Mac is an easy process that can significantly enhance your productivity. By following a few simple steps, you can connect an external monitor to your Mac and configure it to meet your specific needs.
Connecting the Monitor
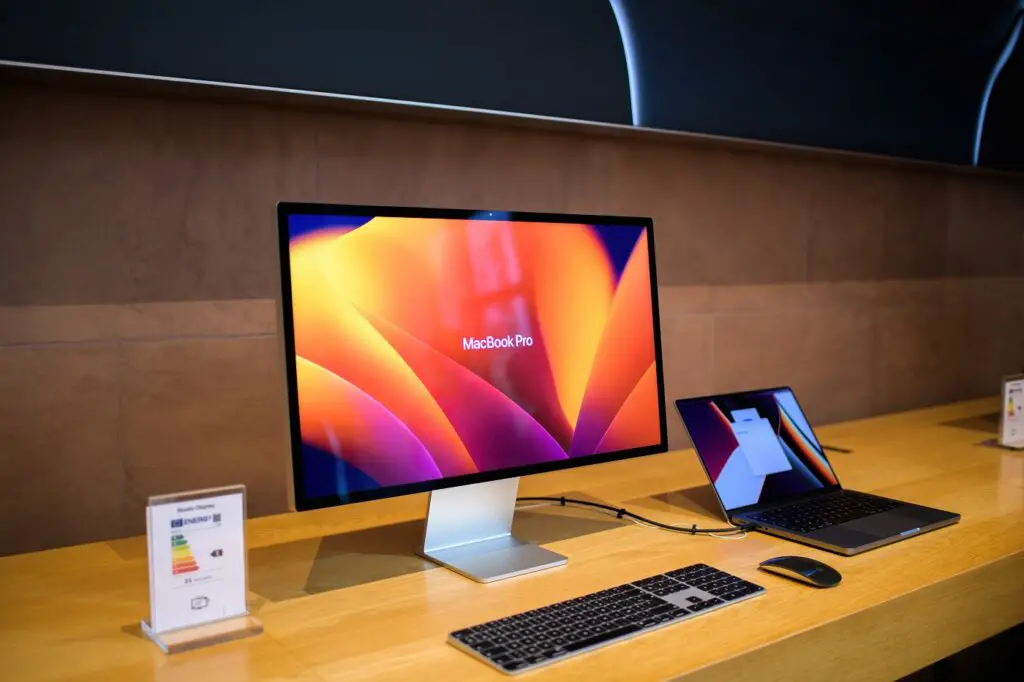
To add a second display to your Mac, simply connect an external monitor to an available compatible port on your Mac. Depending on your Mac model, port options may include Thunderbolt/USB 4 (which supports USB-C and DisplayPort) and HDMI. Many users choose to use a dock or cables to assist in connecting a second display. Once a compatible external monitor is connected, the Mac will automatically detect, recognize, and enable the second display.
Confirming Your Mac’s External Display Capabilities
If you experience difficulty connecting multiple displays to your Mac, it’s essential to confirm the number of external displays your Mac is capable of supporting. For example, an M2-equipped Mac mini can drive up to two displays, with one display featuring up to a 6K resolution at a 60Hz refresh rate using a Thunderbolt cable and a second monitor running up to a 5K resolution at 60Hz using either a Thunderbolt or HDMI connection. To find more information about specific macOS versions and compatible corresponding monitors, cables, and adapters, you can visit Apple’s website.
Adjusting Display Arrangement
After connecting a second display, your Mac may automatically set it up as if the second monitor sits to the right of your Mac’s integrated display. To adjust the arrangement, open System Settings and select Displays. Then, click the Arrange button to physically click and drag the second display to its proper location. This feature allows you to arrange displays in a way that permits intuitively moving the mouse between those monitors.
Adjusting Resolution and Text Size
Using the macOS Displays screen, you can also adjust your connected displays’ text size. Additionally, you can click the Advanced button to enable the Show Resolutions As A List option, which will present supported resolution options within the Displays screen. This allows you to select the display option that works best for your needs.
Changing Display Function and Color Profile
The Displays menu permits you to adjust how a second display works by changing its function, color profile, and refresh rate. For example, you can change the display’s function to either mirror your Mac’s integrated display or make the second monitor your primary display. Additionally, you can select color profiles and adjust the refresh rate to best suit your needs.
Enabling Night Shift
Apple’s Night Shift feature aims to reduce blue light emitted by your monitor, especially at night, to decrease eye strain and improve sleep. By enabling the Night Shift feature and adjusting the schedule, you can ensure that the monitor adjusts to using warmer spectrum colors and less blue light later in the day.
Tips for Adding a Second Mac Display
When adding an external display to your Mac, it’s crucial to ensure that you’ve configured the second monitor as you need to optimize its potential. When adjusting an external display’s options, be sure to select that monitor within the System Settings Display menu and proceed to make your adjustments. If you’re further interested in working with a second display, you can explore alternative options for connected external displays, including using Duet Display or Apple’s Sidecar technology.
By following these steps and tips, you can enhance your Mac’s operation by adding an external display and configuring it to best suit your needs.